
How To Maximize Your Curls
Make the most of your natural texture. Curly hair pros tell us how.
After years of chemical straightening treatments and flat-ironing hair within an inch of its life, a refreshing movement has emerged in recent years: women are embracing their luscious, multidimensional, voluminous, natural curls. “It's almost as if the curlier, the better,” says Alex Alafogiannis, owner of The Curl Suite by Alex in Westbury and New York City. “It’s all about showing the curvature of the individual curl, giving it dimension,” she says. It’s working with your natural texture and maximizing every single curl. To find out how to put some more spring into your spirals, Pretty Local spoke to Long Island curl experts Alafogiannis and Amanda Cianciulli, director of education of Curl Evolution in Babylon, who broke it down into four easy steps.
Start Soaking Wet
Apply your products straight from the shower, says Cianciulli. “The idea is to capture what the curls want to do naturally,” she says. Start by adding hydration with a leave-in conditioning cream or spray. Locking in moisture while hair is still wet will help get that soft, defined look later when your hair is dry. Apply it in sections using either a Denman brush or a fine-tooth comb, and then go back and rake it through with your fingers.
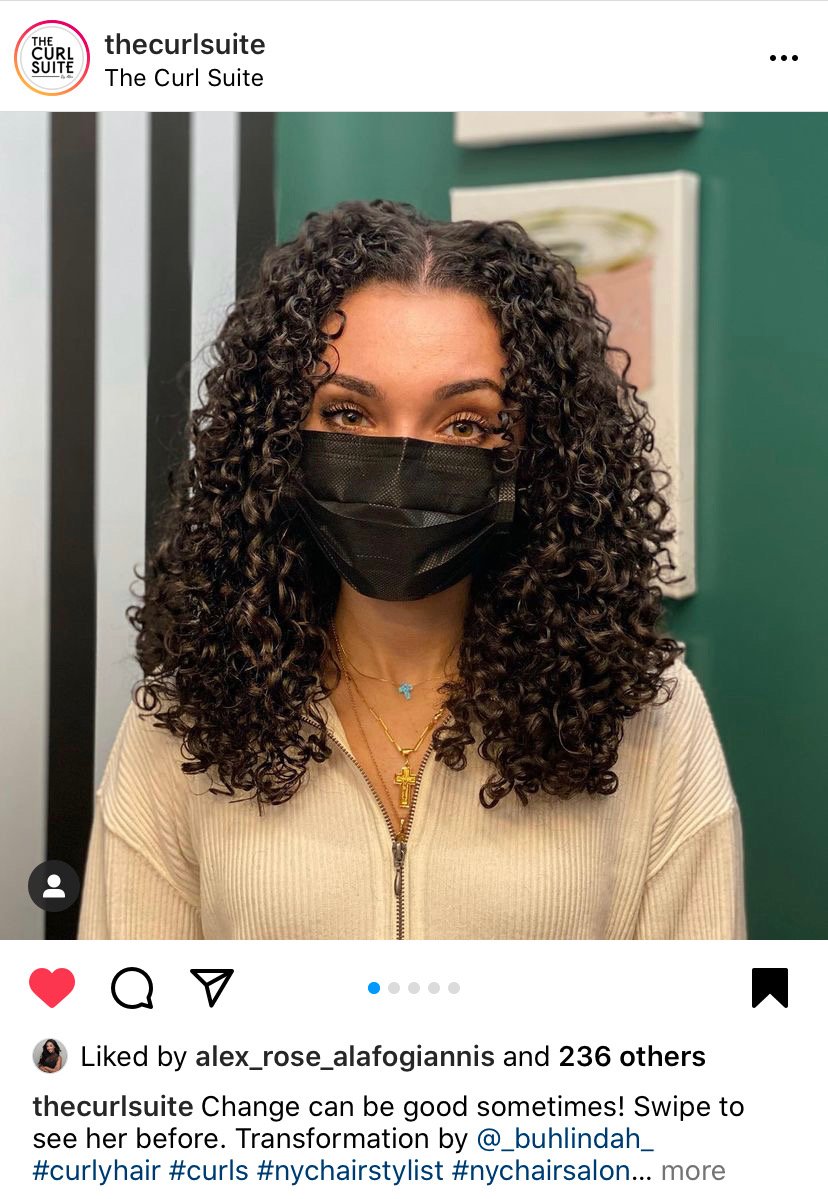
@thecurlsuite
Create a Cast
Now you’re ready for gel. Stiff, crunchy curls are not the look you’re going for, but you need a little stiffness—called a cast—to help set your curls. (Keep reading; they won’t stay stiff.) “It’s all about the cast,” says Alafogiannis. The difference between those crunchy curls of the 80s and 90s (I had them, guys) and the 3D curls of today is in the application of the gel. Don’t scrunch; you won’t get an even distribution of the product. “Plus, you scrunch in the opposite direction of the cuticle, which can create frizz,” says Alafogiannis. Instead, work the gel through in sections, applying it downward from root to tip, she says.
But wait; doesn’t that flatten curls? Nope. “I know it sounds crazy to some curly girls, but if we could straighten curls with gel, we’d be millionaires,” Alafogiannis says. The downward motion helps smooth the cuticle layer (reducing frizz) and ensures the product is worked through evenly, so each individual curl gets defined.

@thecurlsuite
Diffuse Dry
You can air-dry, but if you're looking for more volume, using the diffuser attachment on your blow-dryer is the way to go. “To get 3D curls, I recommend everyone diffuse their hair, even if it's just for two minutes,” says Alafogiannis. It's what's going to give curls more bounce and definition.
While your hair is drying, hands-off, says Cianciulli. Breaking up the curl pattern only leads to frizz. “You're just hovering around with the diffuser,” she says. “Once the hair starts to stiffen up from the product, you can flip over, feed your curls into the diffuser, and shake it around to create that volume.”
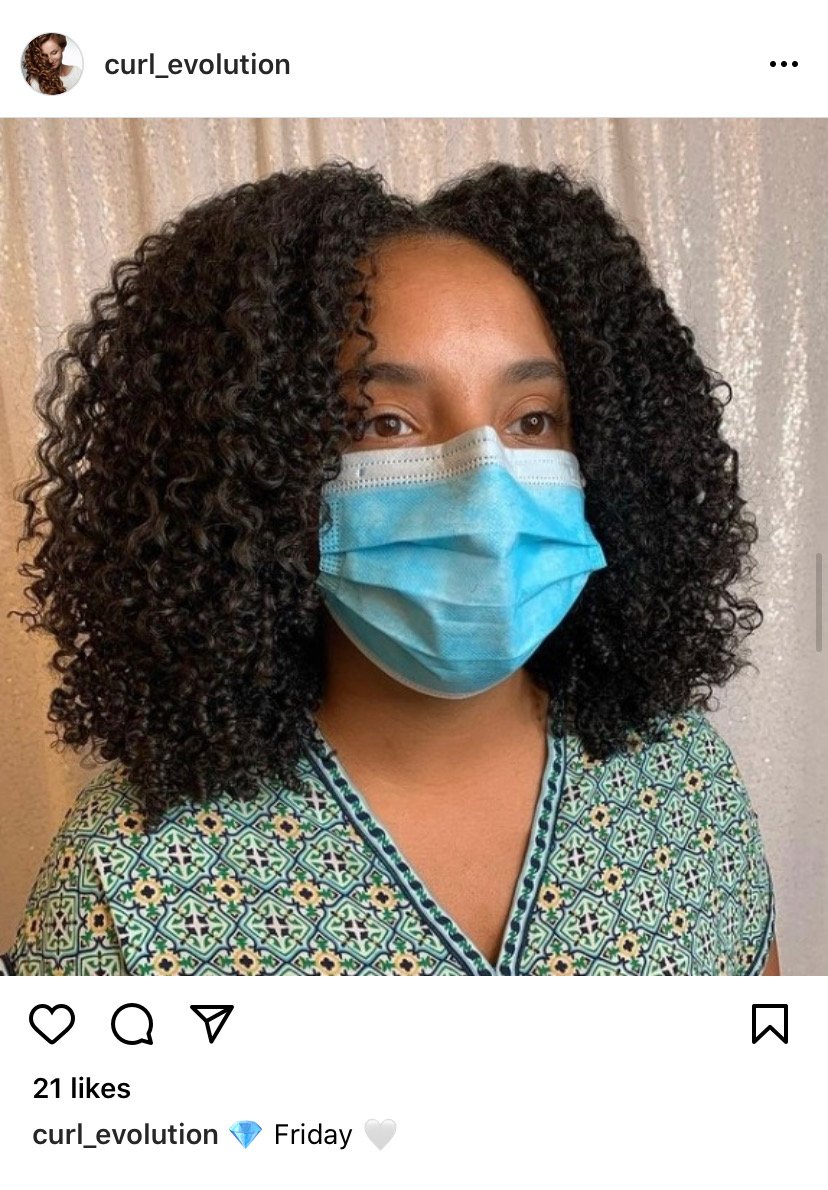
@curlevolution
Now Break the Cast
“This is the last part of this look,” says Alfogiannis. Once the hair is 100 percent dry, use a serum or a pomade to soften the curls. “This is called releasing the cast,” she says.
Rub a dime-sized amount of product between your palms. Then grab your hair, almost like you're gonna put it in a ponytail. “Run your hands down the hair, applying pressure from mid-shaft to ends. Now flip your head over and shake out the roots,” says Alfogiannis. The result is soft and touchable (but not at all stiff) curls.

The Curl Suite Leave-In Conditioner, $21; Curlfection Firm Hold Smoothing Cream Gel, $32.95; Curlsmith Intense Treatment Serum, $36.
Need a curly hair specialist near you? Let’s chat!